Ad

Monday 27 January 2014

Arduino Spider


Power of Arduino pro mini and 3d prinrter.

http://www.youtube.com/watch?v=4kD-zPBVEzc


Monday 18 November 2013

150 microns

Latest achievment 0.15mm layer :)


 With acetone post processing


Friday 15 November 2013

Universal -1.75/3mm, direct drive extruder for Nema 17/23

Direct drive extruder equiped with the following features:
- simplicity - as little components as possible
- independent from drive gear diameter ( 7 - 11 mm)
- integrated motor and drive gear cooling
- support nema17 and nema23 motors
- independent from hotend type
- support for any filament diameter from 1.5-3mm
- open design in open scad format


more on http://www.thingiverse.com/thing:183982

Thursday 17 October 2013

Mendel90 improvement set - Z axis stabiliation

Mendel90 is a great design, but the 8mm threaded rod for Z drive has tendency to wobble. In addition X axis is directly supported on motors only, which leads to little changes in Z position.


Set below lets to hang 8mm rod on ball bearings and prevent its wobble. X axis is more stable in Z direction.


Monday 10 June 2013

Autonomous 3D Printer

Printing because of his nature is quite time consuming operation. On the way to shorten printing time we set up environment which lets us make printing as much automatic as possible.

System consists of following elements:


    1. Terminal Hardware
      • Hp 5720 VIa 1Ghz 512MB
      • Wi-fi usb card
      • 16 GB USB stick
      • USB Web Camera
      • USB to TTL converter
    1. Terminal Software
      • Debian as operating system
      • VNC-Server as remote desktop
      • SSH Server
      • SAMBA Server
      • Camorama as vision system
      • Scripts to start stop printer
      • Pronterface
      • Skeinforge + Start, Stop cripts
    1. Additional Hardware
      • LED light
      • Power Strip with relay driven by optocoupler + LPT Cable
    1. 3D Printer based on Mendel 90 frame


Printing scenario is as follow:
1. Login via VNC remote desktop
2. Run Start Printer script,
3. Load 3D model and press Print
4. Take objest from the printer

Because of Start/Stop script in skeinforge you do not have to care about, heating, head positioning,...

Any time you can login and take a look via vision system if printer is working properly. 

What further ?  Quick release bed, maybe like Nop head's best in class solution  http://hydraraptor.blogspot.com/2010/01/quick-release-bed.html


Saturday 12 January 2013

Ceramic Hotend


Looking for alternatives for conventional hotends and their problems with heat barrier we decided to try ceramic one. After many trials concluion is that ceramic hotend has to high thermal conductivity. Active cooling is needed. Power consumption by ceramic part is about 20W ! 

Test results below:

Tests output:

Constant parameters:
- Environment temperature : 21C
- Resistor 5.6 Ohm, 5x16 mm

Day I:
Conditions: Not isolated Hotend at 230 C and bare Ceramic.
Result:  Heating time: 11 min, After 30 minut cold end 110C.

Day II:
Conditions: Not isolated Hotend at 230 C and Ceramic barrier with little alloy radiator. Result: Heating time: 12.30 min, After 30 minut cold end 102C.

Day III:
Conditions: Isolated Hotend by silicone coating at 230 C and bare Ceramic.
Result:  Heating time: 22 min ??!!, After 30 minut cold end 110C.

Day IV:
Constant parameters:
- Environment temperature : 21C
- Resistor 4.7 Ohm, 5x16 mm

Test I:
Conditions: Isolated Hotend by silicone coating at 230 C and bare Ceramic, No cooling.
Result:  Heating time: 7 min , After 30 minut cold end 110C.

Test II:
Conditions: Isolated Hotend by silicone coating at 230 C and bare Ceramic, Active cooling, by direct air flow..
Result:  Heating time: 12 min , After 30 minut cold end 95C.

Test III:
Conditions: Isolated Hotend by silicone coating at 230 C and bare Ceramic, Passive cooling, by little radiator.
Result:  Heating time: 8 min , After 30 minut cold end 95C.

Test IV:
Conditions: Isolated Hotend by fire resistant concrete coating at 230 C and bare Ceramic, No cooling.
Result:  Heating time: 5.min, 30 sec After 30 minut cold end 95C.


Test V:
Conditions: Isolated Hotend by fire resistant concrete coating at 230 C and bare Ceramic, Active cooling, by direct air flow. Result:  Heating time: 7.min, 30 sec After 30 minut cold end 45C.


Test VI:
Conditions: Isolated Hotend by fire resistant concrete coating at 230 C and bare Ceramic, Pasive cooling with alloy radiator . Result:  Heating time: 6.min, After 30 minut cold end 90C.


Test VII:
Conditions: Isolated Hotend by fire resistant graphit tape coating at 230 C and bare Ceramic, Active cooling with alloy radiator . Result:  Heating time: 5.min, 30 sec., After 30 minut cold end 55C.


Test VIII:
Conditions: Isolated Hotend by fire resistant graphit tape coating at 230 C and bare Ceramic, Pasive cooling with alloy radiator . Result:  Heating time: 5.min, 0 sec., After 30 minut cold end 90C.


Day V:
Constant parameters:
- Environment temperature : 21C
- Resistor 3.3 Ohm, 5x16 mm

Test I:
Conditions: Isolated Hotend by silicone coating at 230 C and bare Ceramic, Passive cooling, by little radiator.
Result:  Heating time: 3.25 min , After 4 minut col end 55C, after 30 minut cold end 100C.

Day VI:
After offline tests, first ceramic hotend prototype ready for deployment:
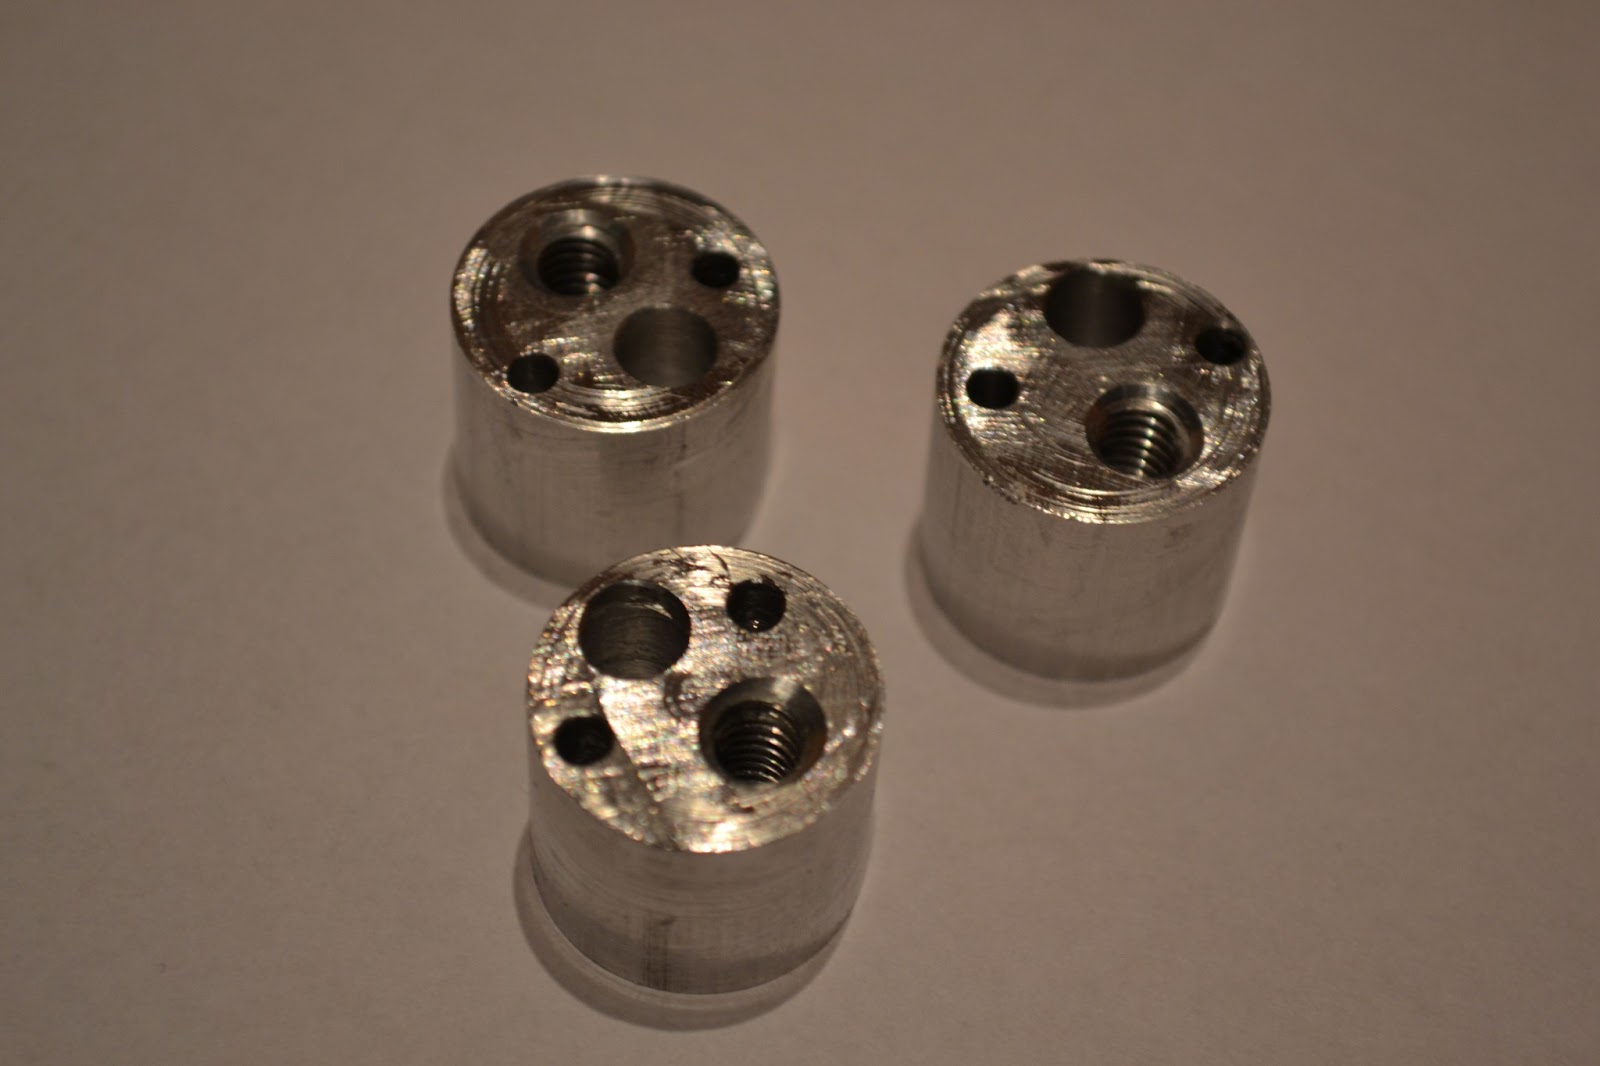


Additional photos:


Monday 12 November 2012

Polyamide Bushing

Ball bearings are great because of precision and durability, but problematic because of noise during operation. Solution for this problem can be polimer bushing. Below you can see first home made Polyamide Bushings. They will be tested next weeks.

Polyamide Bushings

Polyamide Bushings
 BTW:
All the photos we made so far are available at: https://docs.google.com/folder/d/0B8i80MYoMl1xaExvNHFEaUNWdjQ/edit?pli=1

Hotbed

First hotbed we created from 5mm alloy plate, heated by 12 x 10W ceramic resistors. Resistors has been glued using fire resistant glue, it seems to be perfect. Bed is being used for nearly one year without any issues.


First hotbed prototype


New generation bed's are made from 4mm alloy, with working area 250 x 250mm. Power over 160W lets heat the bead in les than 10 minuts.

Latests Hotbed's


Hot bed is located on the solid base with thermal insulation in the middle.

Hotbed base with thermal resistant nuts.


Saturday 27 October 2012

Full blown test environment

All electronics components has been connected. We added unipolar stepper motor driver to target software. Additionally switchover from  ATMEGA644P to ATMEGA32 has been tested.

Firsts tests take place.

Mini unipolar stepper motor with gear box:


Middle unipolar stepper motor:


Bipolar nema17 stepper motor:


On / Off of Heatbed and Hotend:


So far no problems.